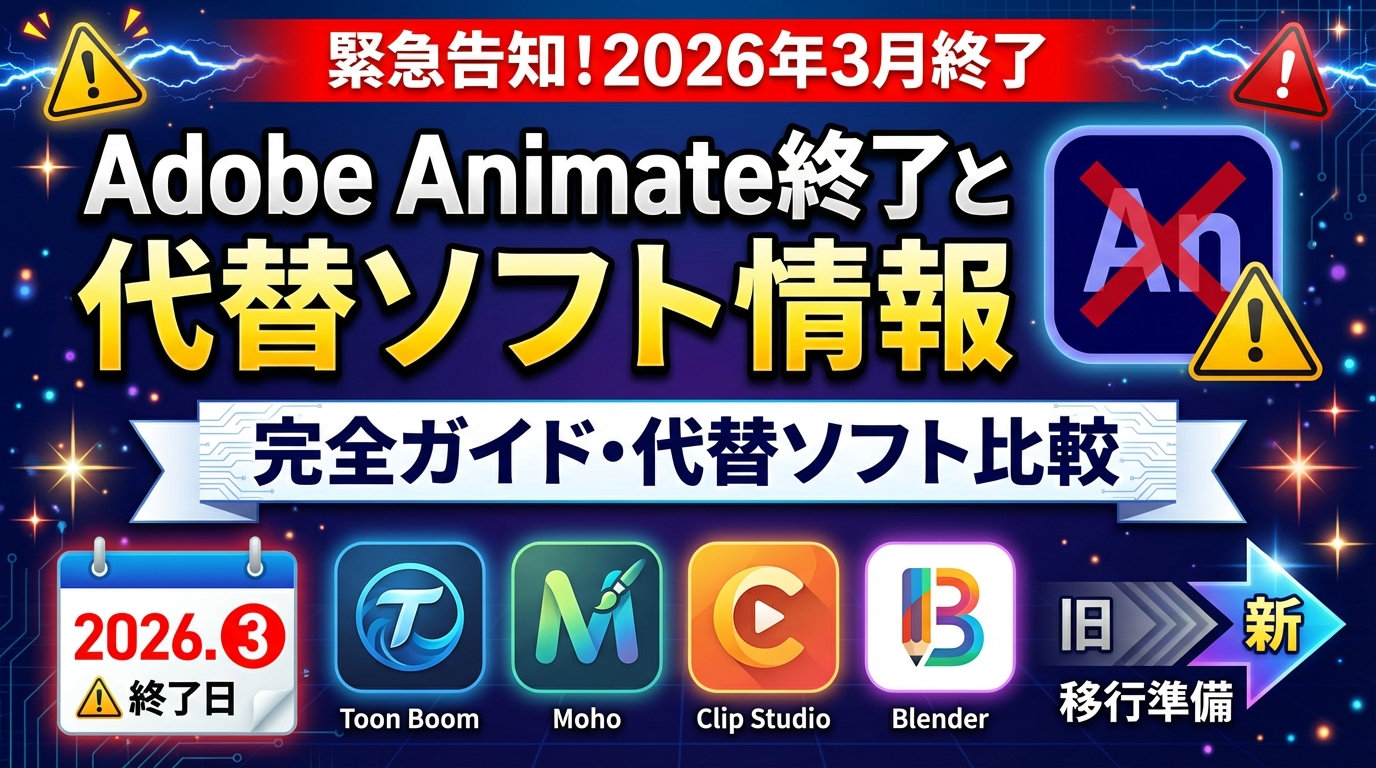
【Adobe Animate終了】代替ソフトデータベース|全11種掲載
2026年3月のAdobe Animate販売終了に伴う代替ソフト情報を客観的に整理。ベクター・手描き・VTuber向けなど用途別に11種類のソフトを紹介。価格・対応OS・機能を比較検討できます。

Genspark(ジェンスパーク)は、あなたの仕事を代行する「AIエージェント」です。
Adobe Animate(アドビ・アニメイト)が2026年3月で新規販売終了と発表されましたね。
私はAdobe Animateの前身Macromedia Flashだったころに使ったことはあるのですが、
Adobe Animate(アドビ・アニメイト)になってからは使用経験がなく
(というか名前変わってFlashが継続してたのも知らんかった笑)…
今回の終了のニュースを聞いて、はて、代わりのソフトって何になるんだろ?と疑問に思ったので、まとめてみました。
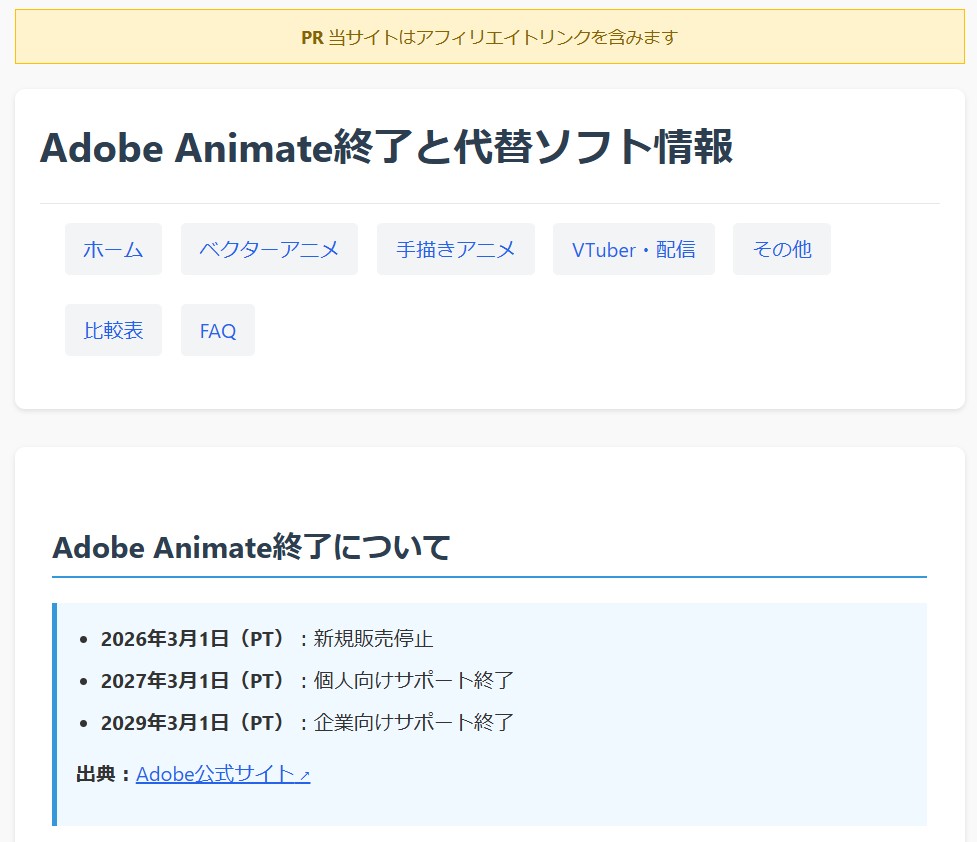
2026年3月1日(PT)以降、Adobe Animateの新規販売が停止されることが発表されました。
詳細なスケジュールは以下の通りです
既存ユーザーは引き続き利用可能ですが、サポート終了期限が設定されているため、今後の制作環境について検討する必要があります。
「次はどのソフトを使えばいいの?」とお悩みの方へ、代替ソフトウェアの情報をまとめてみました。
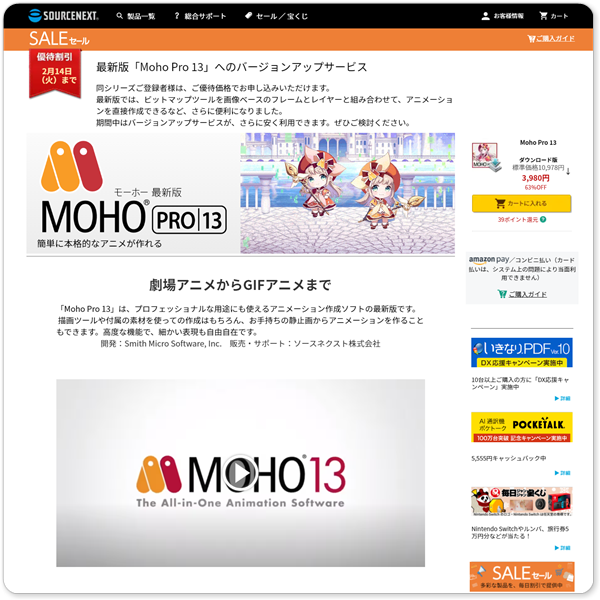
Moho Proは、Lost Marbleが開発するベクターベースの2Dアニメーション制作ソフトウェアです。ボーンリギングシステムを搭載し、キャラクターに骨格を設定してスムーズなアニメーションを作成できます。ベクター描画ツールを使用して直接ソフト内で作画が可能で、物理演算やパーティクルエフェクトなどの機能も備えています。買い切り型の価格設定により、継続的なコストが発生しない点が特徴です。
私はMohoPro12を所有してるんですがほとんど使用しておらず…(嘘みたいに安かったからとりあえず買ったという…)
ずっとソースネクストさんで取り扱いしてるとおもってたんですが、いつの間にか取り扱い終了してて、使い方動画だけになってますね。
公式Youtubeチャンネルに、無料のチュートリアル動画があります。
Toon Boom Harmonyは、Toon Boom Animationが開発する商業アニメーション制作向けのソフトウェアです。テレビアニメーションや劇場作品の制作で世界中の多くのスタジオで採用されています。ベクターとビットマップの両方に対応し、リグアニメーション、フレームバイフレームアニメーション、特殊効果など、プロフェッショナルなアニメーション制作に必要な機能を包括的に提供しています。
Synfig Studioは、オープンソースコミュニティによって開発されているベクターベースの2Dアニメーション制作ソフトウェアです。完全無料で利用でき、Windows、Mac、Linuxの各プラットフォームに対応しています。トゥイーンアニメーション機能により、中割りを自動生成することができます。50種類以上のレイヤータイプを備え、複雑なアニメーション表現が可能です。
![]()
CLIP STUDIO PAINTは、セルシスが開発するイラスト・漫画・アニメーション制作ソフトウェアです。EX版ではフレームバイフレームアニメーション機能を搭載し、タイムライン上で絵を描き進めてアニメーションを作成できます。カメラワーク、オーディオ対応、動画書き出し機能が備わっています。Windows、Mac、iPad、Androidなど多様なデバイスで使用可能です。
CLIP STUDIO PAINT EX![]() は漫画を描くなら業界標準ソフトという感じで、私も所有しています。アニメ機能もあるのは知ってるのですが使ってないです。
は漫画を描くなら業界標準ソフトという感じで、私も所有しています。アニメ機能もあるのは知ってるのですが使ってないです。
OpenToonzは、スタジオジブリが協力して開発されたオープンソースのプロ向けアニメーション制作ソフトウェアです。商業アニメーションソフト「Toonz」をベースに、ジブリ独自の機能を加えたバージョンです。スキャンした紙の線画のクリーンアップ、塗り、撮影(合成)までを行える包括的な機能を備え、無料で利用できます。
Kritaは、KDEコミュニティが開発する無料のペイントソフトウェアで、アニメーション機能も搭載しています。ブラシエンジンが充実しており、デジタルペインティングに適しています。タイムライン機能を使用してフレームバイフレームアニメーションを作成でき、オニオンスキン機能やオーディオ対応も備えています。Windows、Mac、Linuxで使用可能です。
Kritaは無料で使えるペイントソフトで、画像生成AIにも対応しているので使用していますが、アニメ機能があることを今知りました。今度やってみよう。
2,585円
Cartoon Animator 5は、Reallusionが開発する2Dキャラクターアニメーションソフトウェアで、特にVTuber活動やライブ配信に適しています。Webカメラを使用して顔の動きをリアルタイムでキャラクターに反映させるモーションキャプチャ機能を搭載しています。イラストや写真を読み込んでアニメーションさせることが可能で、買い切り型の価格設定が採用されています。
ライブ配信にも使えるアニメ作成ソフト「Cartoon Animator 5 +表情モーキャプ・プラグイン +パワーツールズv1~v3」
簡単に本格アニメーションを作れるソフト「Cartoon Animator5」
![]()
Live2Dは、Live2D Inc.が開発する2Dイラストを立体的に動かす技術とソフトウェアです。1枚のイラストに対してメッシュ分割とパラメータ設定を行い、様々な角度や表情の動きを表現できます。VTuber業界で広く使用されており、無料のFREE版と商用利用可能なPRO版があります。別途トラッキングソフトと組み合わせることでライブ配信が可能です。
2,970円
Adobe After Effectsは、Adobeが開発するモーショングラフィックスおよび視覚効果制作ソフトウェアです。パペットツールを使用したキャラクターアニメーション、キーフレームアニメーション、各種エフェクトの適用が可能です。Animateと同じAdobe製品であり、Creative Cloudプランに含まれるため、既存のAdobeユーザーにとっては移行先の一つとなります。
Wick Editorは、オープンソースプロジェクトとして開発されているWebベースのアニメーション制作ソフトウェアです。ブラウザ上で動作するためインストール不要で、完全無料で利用できます。Flash/Animateに似たインターフェースを持ち、タイムラインベースでアニメーションを作成できます。JavaScriptを用いたインタラクティブなコンテンツ作成にも対応しています。
Blenderは、Blender Foundationが開発する無料の3DCG統合ソフトウェアで、Grease Pencil機能により2Dアニュメーション制作が可能です。3D空間内で2Dの線や塗りを描画し、アニメーションさせることができます。フレームバイフレームアニメーションに対応し、3Dとで2Dを組み合わせた表現も可能です。商業アニメ制作でも使用されています。
7,700円
Adobe Animateのサポート終了まで時間はありますが、早めの情報収集と移行準備をおすすめします。
#AdobeAnimate #アニメーション制作 #代替ソフト #クリエイター #アニメ制作
3,080円
紙と鉛筆(アナログ)からPCとタブレット(デジタル)へ。アニメの制作現場に迫る!
4DCG&映像制作の専門誌『CGWORLD』に掲載されたデジタル作画記事に新規の記事を新たに加えたアニメ制作現場の舞台裏を紐解く事例集。
●イベントレポート
ACTF2016
ACTF2017
●制作事例・インタビュー(50音順)
旭プロダクション×『今、ふたりの道』
石田祐康氏×『rain town』
オー・エル・エム×『ポケットモンスターXY&Z』
Creators in Pack(クリエイターズインパック)×『バーナード嬢曰く。』&『リトルウィッチアカデミア』&『青空アンダーガールズ! 』
サンジゲン×『おばけちゃん』&『うーさーのその日暮らし 夢幻編』
シグナル・エムディ×『探偵チームKZ事件ノート』&『ひるね姫 〜知らないワタシの物語〜』&『ルナたん〜1万年のひみつ〜』
スタジオコロリド×『ポレットのイス』&『陽なたのアオシグレ』
スタジオ雲雀×『潔癖男子! 青山くん』
STUDIO4℃×『RedAsh -GEARWORLD-』
タツノコプロ×『夜桜四重奏 -ハナノウタ-』&『昆虫物語 みなしごハッチ』&『テンプルちゃん』
ダンデライオンアニメーションスタジオ×『ハイキュー!!』&『閃乱カグラ』
デイヴィッドプロダクション×『ジョジョの奇妙な冒険 ダイヤモンドは砕けない』
東映アニメーション×『正解するカド』
ポリゴン・ピクチュアズ×『シドニアの騎士』
●登場ツール
Adobe Animate(旧Flash)
CACANi
CLIP STUDIO PAINT
RETAS STUDIO:Stylos
Toon Boom Storyboard Pro
Toon Boom Harmony
TVPaint Animation
Shotgun
ほか
HTML5+CSS3+JavaScriptで作るWebアニメーション
HTML5+CSS3+JavaScriptによるアニメーション作成ツール「Adobe Edge Animate」。
2012年10月に「Adobe Edge Tools&Services」のひとつとして正式リリースされ、2013年6月には最新バージョン「CC」の提供が開始されます。Web標準技術によるインタラクティブコンテンツ制作は、Flashの代替技術としても注目を集めており、今後ユーザーの増加が見込まれています。
本書は、基本的な知識をまとめた「基礎編」、コンテンツを作りながら操作を学習できる「実践編」、書き出したコードの理解を深め、より実践的なコンテンツを作成する「応用編」の3部構成。
ソフトに初めて触れる方はもちろん、現場でいち早く取り入れてみたいという方にも役立つ、総合的な内容となっています。
Adobe Edge Animateスタートガイド―Creative Cloud対応 の 商品概要
要旨(「BOOK」データベースより)
HTML5+CSS3によるアニメーション制作ツール。Flashからの乗り換えの人にも使いやすいAdobeの新しいツールをマスター。
目次(「BOOK」データベースより)
01 Edge Animateの基礎(Adobe Edge Animate CCの概要
学習をはじめる前にやっておくこと ほか)
02 グラフィックワークをマスターしよう(基本図形を描いてみよう
図形を伸縮・回転させてみよう ほか)
03 HTML5モーションの基本を完全習得しよう(HTML5モーションについて理解しておこう
キャラクター画像を移動させてみよう ほか)
04 高度なHTML5モーションに挑戦しよう(シンボルアニメーションを設定してみよう
クリックで絵が切り替わる簡単なコンテンツを作ってみよう ほか)
05 パブリッシュワークを習得してウェブで公開しよう(ポスターイメージとプリローダーを設置しよう
ウェブページに組み込んでみよう)
著者紹介(「BOOK著者紹介情報」より)(本データはこの書籍が刊行された当時に掲載されていたものです)
境 祐司(サカイ ユウジ)
インストラクショナル・デザイナーとして講座企画、IDマネジメント、記事執筆、講演などを中心に活動。2012年5月より、電子出版専門のパブリッシャーとして、電子書籍のプランニング、情報設計、デリバリデザイン等を実践中
https://brashmonkey.com/spriter-pro/